10. Getting started
We are going to be writing our own programs, which means we need some way to run code that takes in data and produces some kind of output. To keep things simple, most of our code will be run as text files from a command line. Being able to create, rename, delete and change files from the command line is the first skill to master.
10.1. The bash command shell
Here is first part of a tutorial that introduces the bash shell and what it is used for: http://swcarpentry.github.io/shell-novice/01-intro/
10.1.1. 1. Installing the bash shell
Macs
There are dozens of different flavors of shell. One of these is the bash shell; if you have a Mac, then you already have a bash shell, which you can launch from spotlight by typing ⌘-space (i.e. press the “command” key together with the a space, then type the word “terminal” into the spotlight search bar).
For windows, the situation is more complicated. The default windows shell, which you launch by hitting the windows key
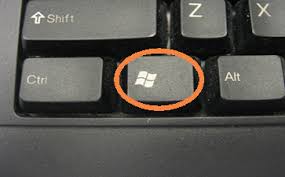
and typing “cmd” in the launch window, has a different syntax and is less capable than bash. I don’t want to have to deal with two shells, so windows users will need to download and install a version of the bash shell called for windows called MSYS2 from https://msys2.github.io/
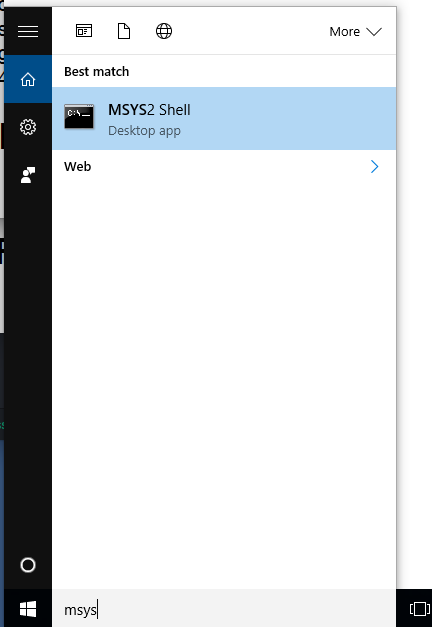
Once you’ve installed it (I’m assuming in the default location c:msys64, type MSYS in the search bar to get the command to click and launch a bash shell:
10.1.2. 2. Working with the shell
Once you have a shell open, spend 30 minutes to go over http://swcarpentry.github.io/shell-novice/02-filedir (navigating files and directories), http://swcarpentry.github.io/shell-novice/03-create/ (working with files and directories) and ttps://swcarpentry.github.io/shell-extras/08-environment-variables.html (shell variables). Note that directory is just another (older) name for folder.
The commands we will be using frequently are:
 1
 2
 3
 4
 5
 6
 7
 8
 9
10
pwd     -- print working directory
cd a    -- change to directory a
cd ~    -- change to your home directory
cd ..   -- change to the directory above
ls      -- list files
ls *py  -- list files ending with py
mkdir   -- make a directory
rm      -- remove a file
rm -r   -- remove a directory and all subdirectories
head    -- prints the first 5 lines of a file
These commands will come in handy when we start writing multiple python scripts in different directories.
10.2. Installing the atom file editor
We need to be able to edit configuration files and enter commands to be run in python. We’ll start with a simple standalone editor called atom: https://atom.io which you should download and install.
If atom has installed correctly you should be able to open a new bash shell, change to your home directory (for example /c/users/charles) and open up an empty file called hello_world.py, by typing:
> cd ~   #to change to your home directory -- i.e. /Users/charles (mac) or /home/charles (windows)
> atom hello_world.py
Type the following line into the atom hello_world.py window:
print('hello world')
and save the file as ~/hello_world.py.
10.3. Installing python
We will be using a custom python distribution called miniconda. (See this link for more on Anaconda and miniconda).
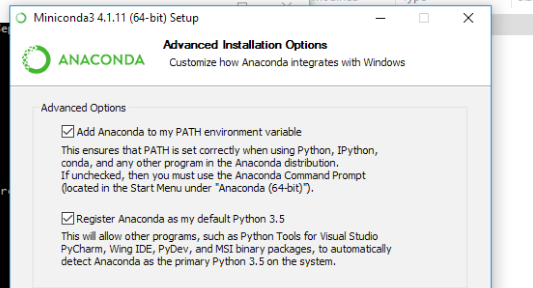
Download python version 3.5 from http://conda.pydata.org/miniconda.html and run the installer. It will prompt you for a folder to install into.
I recommend that you choose:
c:\Users\username\mini35
on windows and:
/Users/username/mini35
where username is, in my case, charles
I recommend accepting miniconda python as your official python, but if you don’t want to do that we can work around it later.
If the python installation is working, then open a msys2 shell and try the following, which on windows should give something like this:
 1
 2
 3
 4
 5
 6
 7
 8
 9
10
11
charles@railwin MSYS ~
$ pwd
/home/charles

charles@railwin MSYS ~
$ ls hello_world.py
hello_world.py

charles@railwin MSYS ~
$ python hello_world.py
hello world
10.4. Installing python modules
The mini in Miniconda refers to the fact that installing it gives you only the bare minimum needed to get things done with python. For our course, we will need additional packages. The package list for the start of the course is at http://clouds.eos.ubc.ca/~phil/courses/atsc301/downloads/a301_module_list.txt Save this as a text file (for example in chrome pull down File -> save as) to a directory whose location you know, like /c/Users/phil/Downloads (on windows). Then from a bash shell, type the following command to download and install all of these packages:
conda install --file /c/Users/phil/Downloads/a301_module_list.txt
10.5. Running Python
As noted in How to run python code, we will be using three different methods to run python programs in the course. In addition to running a file from the command line as above with “python hello_world.py” there are two more interactive approaches:
ipython
Start the ipython interpreter in the shell:
$ ipython
At the prompt, type:
print('hello world')
Or you can run the script as a file. At the prompt, type:
run hello_world.py
and it should print “hello world”.
jupyter notebook
The Whirlwind book is written as a series of jupyter notebooks. To run individual chapters as notebooks:
Start a bash shell
make a directory to hold the chapters and cd into it:
$ cd ~
$ mkdir whirlwind
$ cd whirlwind
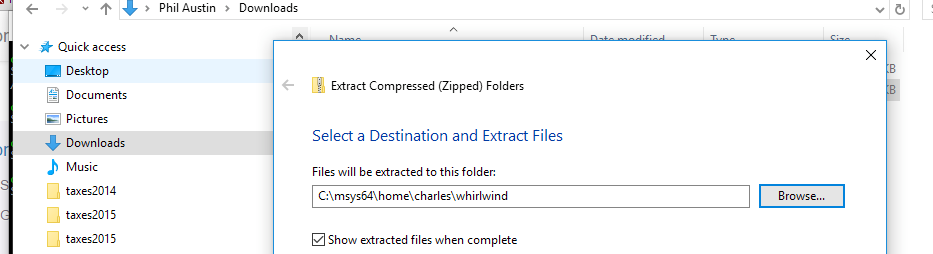
Download a zip file containing the notebooks by clicking on this link
move the zip file into the whirlwind folder. For a stock windows install, if you type:
$ pwd
and your present working directory is /home/charles/whirlwind, then on windows that directory would be c:msys64homecharleswhirlwind and on macs /Users/charles/whirlwind
if this worked then doing an ls in the shell should show you the expanded folder:
$ ls
WhirlwindTourOfPython-master
start the jupyter notebook server in the whirlwind directory:
$ jupyter notebook
this should open your default browser and show a single folder “WhirlwindTourOfPython-master”. Click on this to list the notebooks in that folder:
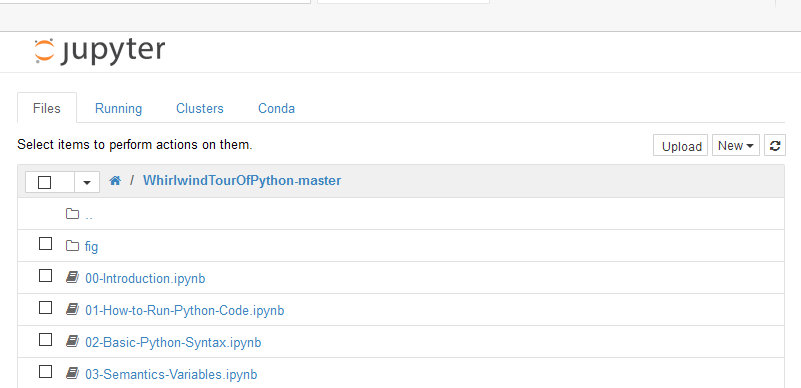
Click on 02-Basic-Python-Syntax.ipynb to launch a notebook session for that notebook